This article will teach you how to split up an addon domain on one account into its own cPanel account. This is useful for Ecosite customers who have upgraded to a reseller or VPS web hosting account.
Step 1: Download website content to your computer.
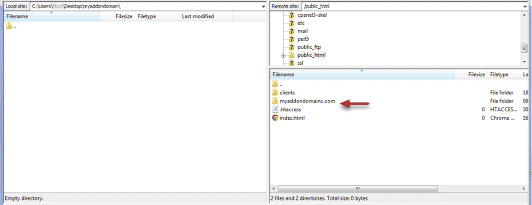
Using your favorite FTP client, download the addon domain folder to your computer that is located within the public_html folder. Using Filezilla, dragging the folder from the right side of the screen to the left hand side downloads the folder to your computer.
Step 2: Download email accounts and etc folder
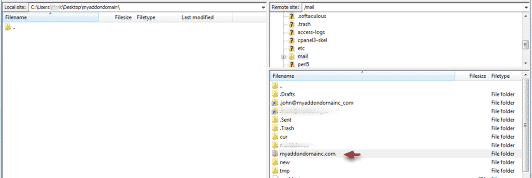
If you have any email accounts on your addon domain, navigate to the mail folder and download the folder for your addon domain. Go to the etc folder and download the folder for your addon domain as well. This will transfer the email accounts and messages associated with your addon domain.
Step 3: Export databases using PHPMyAdmin
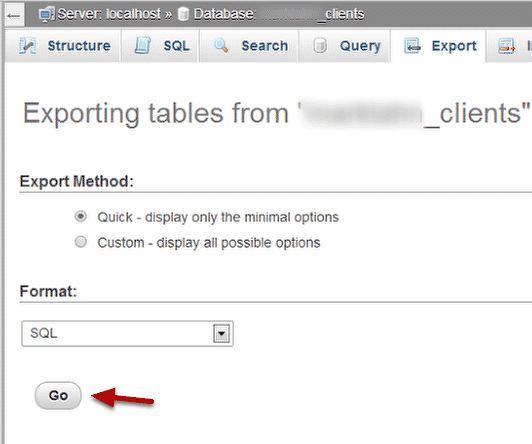
In cPanel, open up PHPMyAdmin. Select the database you would like to export and click Export at the top of the page. Hitting the Go button will download the database to your computer.
Step 4: Remove the addon domain

Once you have downloaded the website files, email, etc folder, and databases, open up Addon domains in cPanel and hit Remove.
Step 5: Create the new cPanel Account
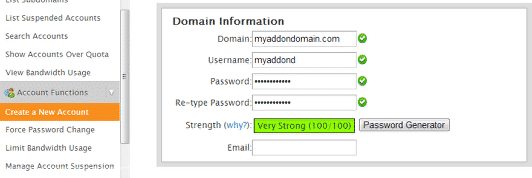
Open up WHM and create the new cPanel account. If you have not removed it as an addon domain, you will not be able to create the new cPanel account.
Step 5: Upload the website files, mail, and etc folder
Using your FTP client, upload your website files to the pubic_html folder and upload the mail / etc folders to their designated locations.
Step 6: Recreate and import databases
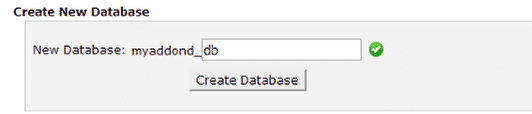
Navgiate to MySQL databases in cPanel. Recreate the databases and use PHPMyAdmin to import the database dumps you exported from the old cPanel account.
Step 7: Update configuration files
At this time you will need to update any configuration files for database driven sites. Your databases will have new username prefixes before them, so you will need to update the database name and database username.
Once this is done, your website migration is complete. You have moved all website files, databases, and emails to its own cPanel account.
